For contractors, HVAC installation quality is the critical factor determining profit, system performance, and reputation. Even the best equipment or sales proposal cannot prevent callbacks if airflow, refrigerant charge, or ductwork are incorrect. ENERGY STAR and industry studies show improper HVAC system installation can reduce efficiency by up to 30%, mainly due to poor sizing, airflow, and refrigerant charge errors. This leads to higher utility costs for customers, increased complaints, and costly no-charge service visits.
This HVAC installation guide for contractors provides a practical, field-ready SOP that guides crews through a consistent step-by-step installation process — from site assessment and load calculations through start-up, documentation, and customer handoff. Use it to reduce callbacks, protect margins, and train new technicians to an industry-standard process—not just individual experience.
Importance of Installation Quality for Contractors
Installation quality is both a technical and business imperative for residential and light commercial HVAC contractors. Technically, quality installations ensure equipment delivers the rated SEER2, HSPF2, or AFUE performance customers pay for. From a business standpoint, consistent quality reduces warranty claims, truck rolls, and negative reviews that damage a contractor’s brand.
Contractors following a defined HVAC installation checklist experience fewer problems with:
Improper unit sizing causing comfort and humidity problems
Poor electrical connections risking intermittent failures and safety issues
Loose or unsealed ductwork leading to hot/cold spots, high energy bills, and noise
Being recognized as the contractor whose installations “just work” and last is a powerful competitive advantage.
Impact on Efficiency, Comfort, and Equipment Life
Installation quality directly affects:
System efficiency: Undersized, leaky, or poorly routed ducts increase external static pressure and reduce airflow, cutting efficiency and risking coil freeze or overheating.Proper duct sealing and testing can limit leakage to 6% or less, markedly reducing energy loss.
Comfort and humidity control: Balanced duct runs, correctly located returns, and appropriate load calculations prevent “cold but clammy” rooms and wide temperature swings.
Equipment life and reliability: Low airflow, incorrect refrigerant charge, and poor condensate management stress compressors and motors, leading to premature failures and warranty replacements. Manufacturers often condition warranties on strict adherence to their installation and commissioning procedures.
Costs of Poor Installation and Callbacks
Callbacks erode profit margins. Each no-charge visit to fix an airflow issue, wiring problem, or condensate drain error consumes time and money. Consequences of poor installation include:
Repeated service calls for comfort or noise complaints
Preventable warranty replacements of compressors or heat exchangers
Refunds, discounts, and free add-ons to appease customers
Negative online reviews that impair future sales
Contractors standardizing with an HVAC installation checklist report fewer missed steps, better documentation, and a quantifiable decrease in service issues caused by installation errors.4 Even modest reductions in callbacks free crews for more profitable installs rather than rework.
Overview of ENERGY STAR Quality Installation Principles
ENERGY STAR’s Quality Installation (QI) guidelines distinguish a quality installation from a simple “box swap.” Key principles are:
Proper equipment sizing: Use accepted load calculations, like ACCA Manual J for residential, avoiding oversizing or undersizing.
Correct airflow: Duct systems must deliver manufacturer-recommended airflow, with proper sizing (Manual D), layout, sealing, and balancing.
Accurate refrigerant charge: Charge systems per manufacturer specs using superheat, subcooling, or weighed-in methods.
Tight, insulated ductwork: Seal all joints and insulate ducts in unconditioned spaces to minimize leaks and conduction losses.
Quality controls and documentation: Use energy-efficient controls, configure thermostats properly, and document start-up data to verify correct operation.
Field note: Contractors who rigorously follow ENERGY STAR QI steps consistently achieve lower callback rates and improved customer satisfaction, translating to stronger business margins.
Key takeaway: High-quality HVAC installation improves system performance and reduces warranty costs
Following an HVAC installation guide aligned with ENERGY STAR and manufacturer standards improves delivered efficiency, comfort stability, and equipment longevity. This reduces callbacks, warranty disputes, and increases capacity for profitable new work instead of costly rework.
Pre-Installation Planning and Site Assessment
Pre-installation planning sets the foundation for a smooth, profitable job. A disciplined approach to site evaluation, load calculation, duct design, and documentation minimizes surprises and keeps crews efficient.
Site Evaluation Checklist
Access and Clearances
Exterior access: Confirm clear paths for removing old units and moving in new air handlers, rooftop units, or furnaces without obstruction. Check for tight gates, stairs, or landscaping hurdles.
Outdoor unit location: Verify condenser pad location offers manufacturer-minimum clearance (usually 24″ or more on all sides and above). Avoid obstructions like downspouts or snow-prone spots.
Indoor access: Ensure equipment dimensions fit through doors, attics, basements, or closets; plan for disassembly or extra labor if needed.
Service clearances: Confirm enough space for filter changes, coil cleaning, and blower access without removing major components. Tight service zones increase future service costs.
Structural Constraints and Utilities
Structural conditions: Check framing, floor load rating, and mounting surfaces for indoor and rooftop units. Confirm roof curb integrity for rooftop units.
Electrical: Inspect panel capacity, breaker sizes, and wiring conditions. Identify need for new circuits or disconnects to meet equipment specs and code.
Gas line: Verify existing gas piping size, routing, and shutoffs are adequate and code-compliant for furnace demands.
Ventilation and combustion air: Confirm safe, code-compliant venting and combustion air paths for fuel-burning appliances.
Condensate drainage: Identify slope and termination locations; determine if auxiliary pans or pumps are required.
Load Calculations and Duct Design
Importance of Manual J and Manual D
Manual J: Calculates heating and cooling loads based on building envelope, orientation, windows, occupancy, and gains for accurate sizing to avoid oversizing and comfort issues.5
Manual D: Converts loads into duct sizing and layout to maintain static pressure limits and deliver design airflow.
Poor duct design harms blower efficiency, airflow, and comfort. Proper design and sealing are essential for energy-efficient operation.
Streamlining Calculations for Contractors
Many contractors streamline Manual J/D by:
Using software with preloaded climate and material data
Standardizing calculations for common local building types
Building template duct layouts adjusted for specific projects
Training sales/design staff on preliminary calculations verified by senior designers
This approach makes load and duct design routine rather than an afterthought.
Equipment Selection and Verification
Model and Capacity Matching
Match equipment capacity to Manual J loads, considering sensible and latent requirements.
Verify AHRI match of indoor/outdoor split system components to maintain rated efficiencies and rebate eligibility.
Confirm electrical voltage and phase compatibility to avoid equipment failures or warranty voids.
Check coil type, metering devices, heat strips, and controls for compatibility.
Damage Inspection and Accessories Check
Inspect cabinets, coils, and components on delivery for damage or shipping defects.
Verify presence of accessories: thermostats, IAQ add-ons (UV, ERV/HRV), line sets, filter racks, economizers, etc.
Cross-check model and serial numbers with work orders and AHRI documentation to ensure correct units.
Permits, Documentation, and Customer Expectations
Secure required mechanical, electrical, and gas permits per jurisdiction; some require duct leakage testing or mechanical ventilation verification. Prepare job packets including:
Scope of work and drawings
Equipment submittals and AHRI certificates
Inspection forms and duct test reports
Commissioning and start-up sheets ready for site completion
Review responsibilities and timelines with customers before work starts, clarify temporary interruptions, access needs, and change order protocols.
Checklist: Essential pre-installation documents and permits
Document Type (文件类型)
Purpose (用途)
When to Obtain (获取时间)
Mechanical Permit
Authorizes HVAC equipment installation
Before start of installation
Electrical Permit
For new circuits, disconnects, panels
Prior to electrical work
Gas Permit
New or revised gas piping
Prior to furnace installation
Job Scope and Contract
Defines work, signed by customer
Before mobilization
Equipment Order Confirmation
Confirms model, capacity, matches
Before delivery
Manufacturer Instructions
Installation and wiring guidelines
On site during install
Load Calculations & Duct Design
Verifies correct sizing and airflow
Pre-installation planning
Pre-filled Commissioning Forms
For recording start-up data
Ready for technician use
Tools, Materials, and Safety Preparation
Well-planned toolkits and safety checks keep crews efficient and reduce costly delays.
Fasteners: Anchors, screws, straps, unistrut, pads for outdoor units
PPE: Gloves, safety glasses, hearing protection, respirators, hard hats, fall protection for attic/roof work.
Jobsite Safety Inspection and PPE
Upon arrival, inspect for:
Fall hazards (roofs, stairs)
Electrical hazards (exposed wiring, panels)
Confined spaces with poor ventilation
Tripping hazards and debris in pathways
Ensure all crew members wear proper PPE for tasks—eye and hand protection, hearing protection, respiratory gear where dust is present.
Protecting Customer Property
Professionalism includes careful protection of customer spaces:
Use floor coverings, drop cloths, and shoe covers.
Mask or cover furniture and finishes near the work zone
Plan equipment and debris paths to avoid contact with walls and landscaping
Establish clean debris staging areas away from fragile items
Pro tip: Proper site protection reduces customer complaints and helps your crew work faster without second-guessing.
Safety checklist: PPE and jobsite protection measures
Verify safety glasses, gloves, and appropriate footwear for all crew
Confirm fall protection availability and use for elevated work
Ensure hearing protection and respirators are on hand for noisy or dusty steps
Set up floor coverings on main traffic areas
Cover or remove furniture sensitive to dust or damage
Clear exterior work paths of tripping hazards
Step-by-Step HVAC Installation Process
This core section provides the field SOP for typical residential systems; adapt for local codes and system types.
Removing Existing System
Power and Fuel Isolation
Switch off outdoor unit disconnect and verify with meter
Turn off furnace or air handler breaker in panel
Close gas shutoff valve and verify complete closure
Apply lockout/tagout per company/local regulations
Confirm controls are dead (no response to thermostat calls)
Refrigerant Recovery and Equipment Removal
Connect recovery machine and tank following EPA Section 608 rules
Recover refrigerant completely; do not vent to atmosphere
Cut and cap refrigerant lines after zero pressure is verified
Disconnect electrical and gas wiring with care (two wrenches on gas lines)
Remove vent, condensate lines, ducts carefully to preserve reusable sections
Remove old equipment and place in designated disposal zone
Placing and Setting New Equipment
Outdoor Unit Installation
Prepare level, stable base (concrete/composite pad), above grade to avoid water pooling4
Confirm pad level and clearance around unit (typically 24″ minimum) per manufacturer guidelines
Anchor unit for seismic or wind load where required
Position for accessible service panels and efficient line set routing
Indoor Unit, Air Handler, and Furnace Setup
Place air handler/furnace in designated space with adequate service clearance1
Level the unit for proper condensate drainage and smooth blower operation
Use vibration isolation pads to reduce noise transmission
Connect supply/return plenums or duct collars anticipating smooth airflow with minimal turbulence
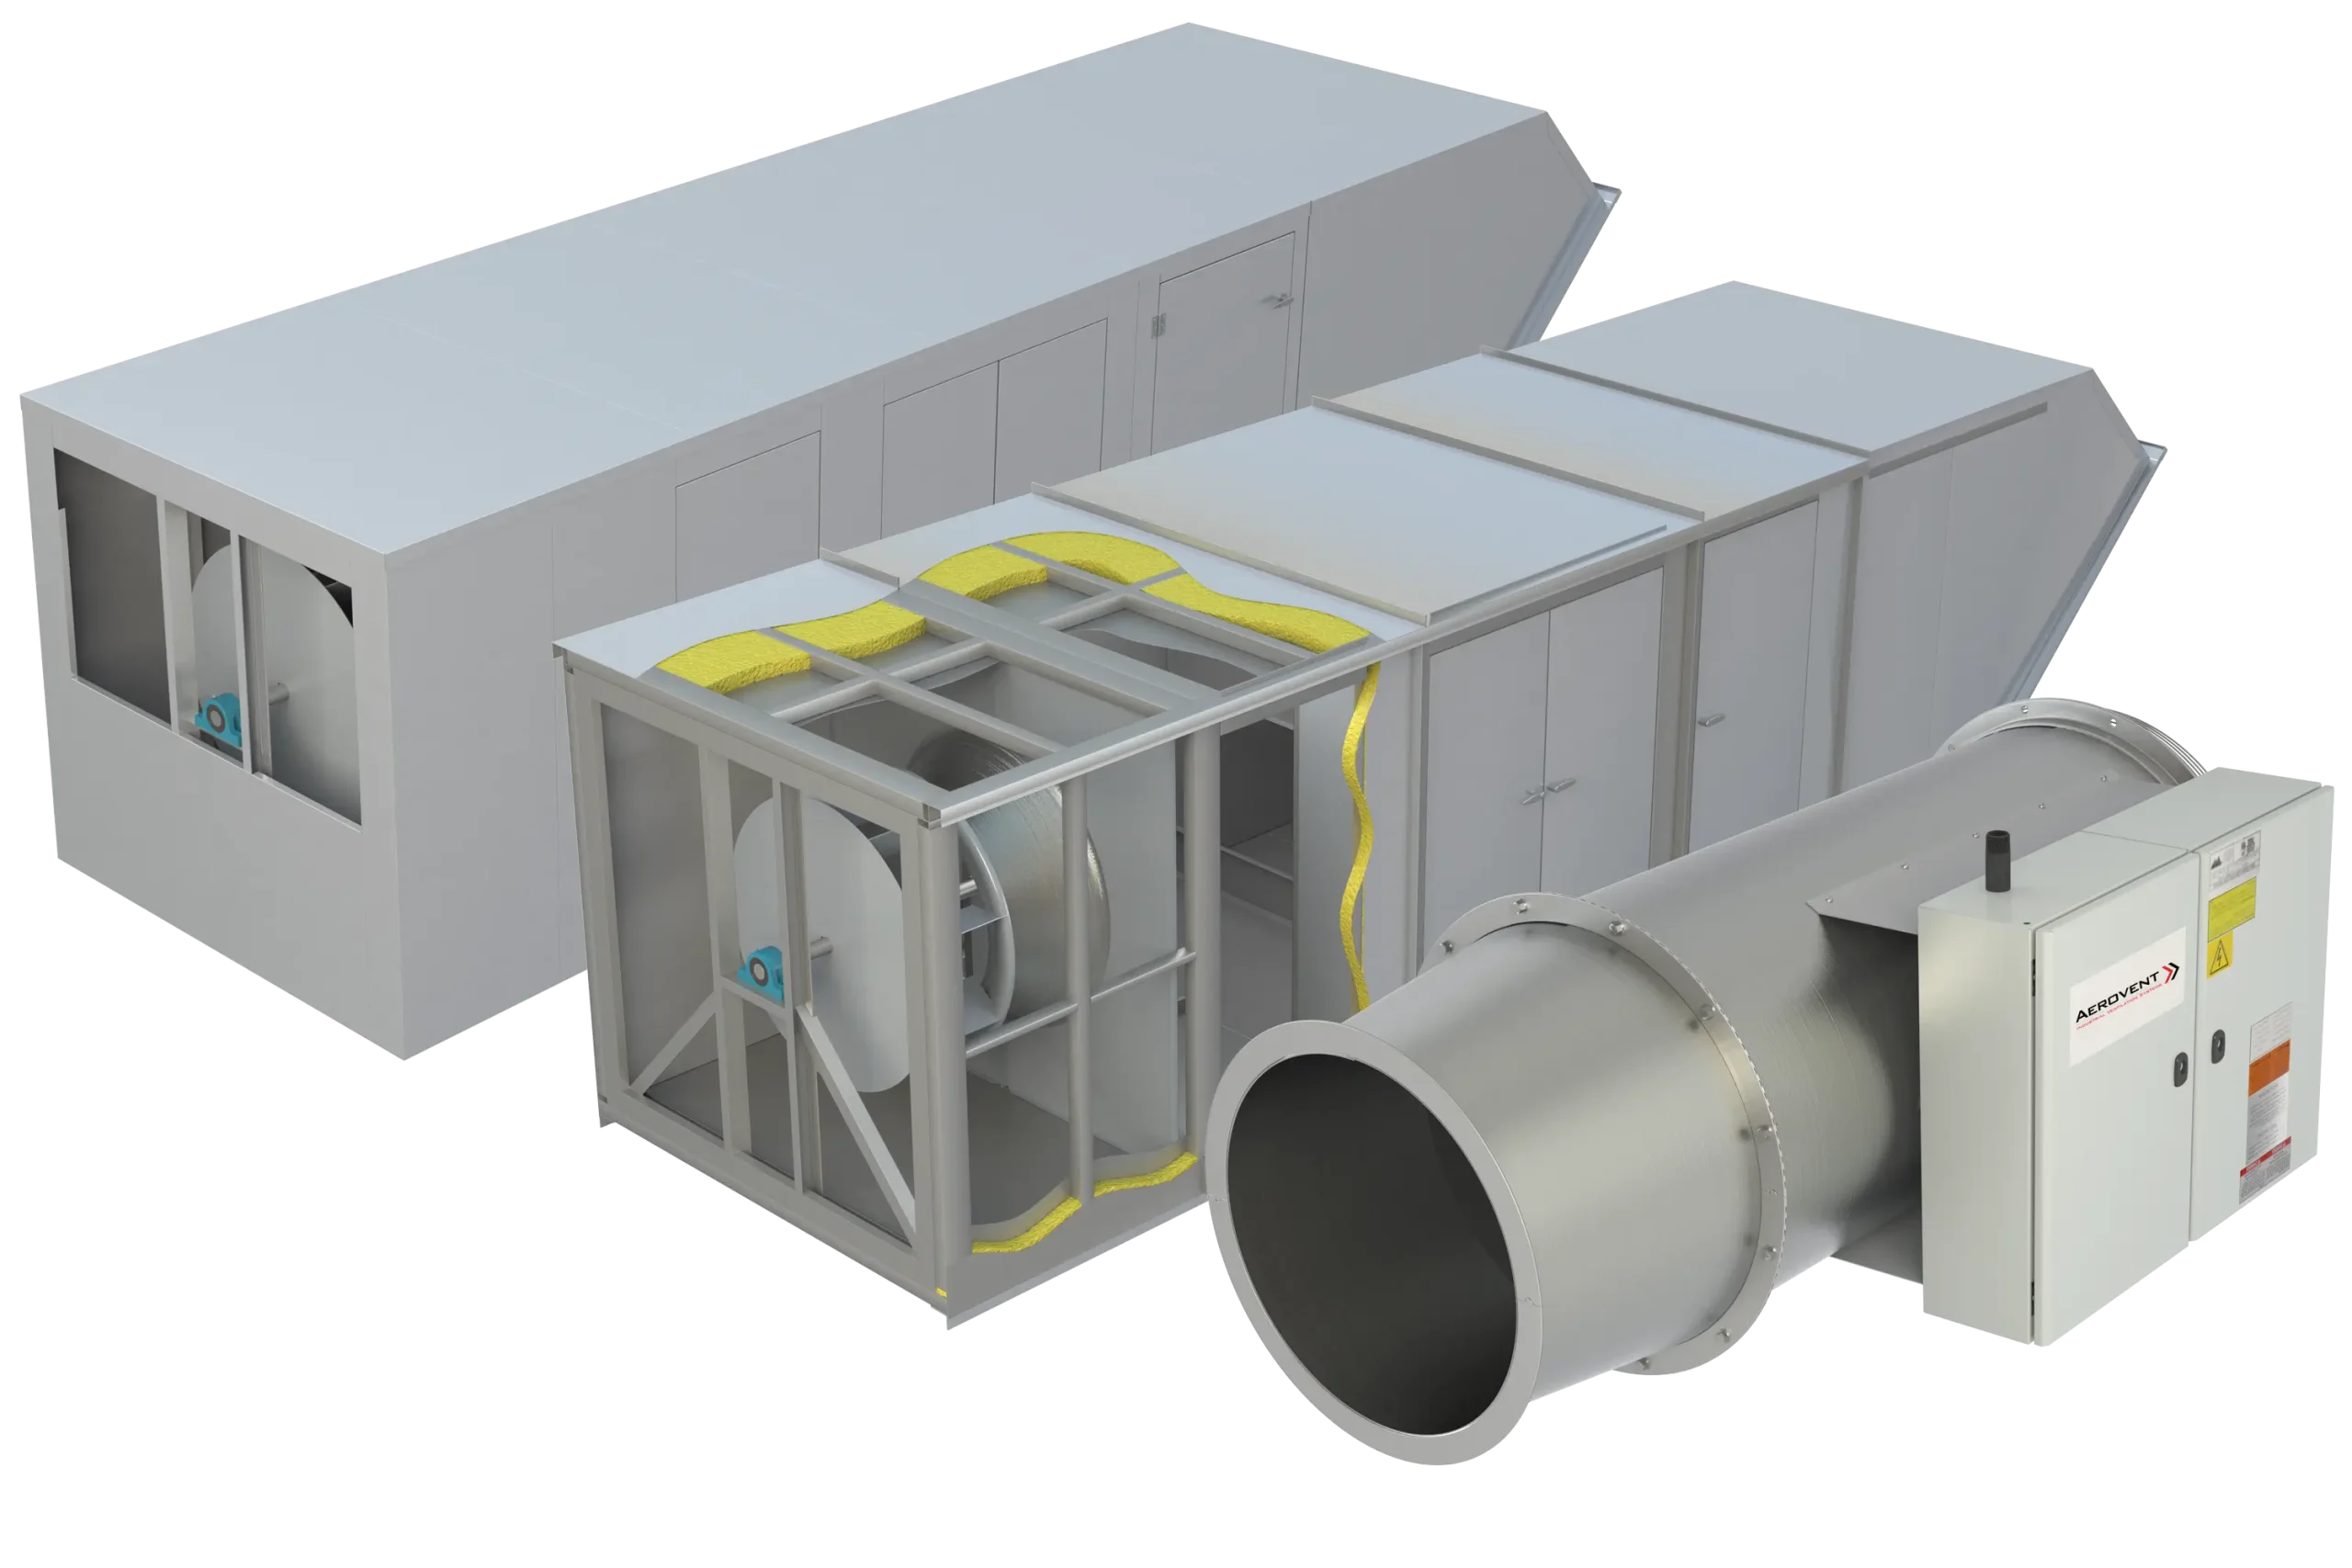
Ductwork Installation and Modification
Duct Sizing and Routing Basics
Install trunks and branches per duct design with correct diameters to match CFM needs
Minimize length, turns, and fittings that elevate static pressure
Provide adequate dedicated return air pathways; avoid sole reliance on undercuts
Sealing and Insulation Techniques
Seal all joints/seams with mastic or UL-approved foil tape, especially at plenums and takeoffs
Support ducts at intervals specified by code/manufacturer; keep flex duct taut and uncompressed
Insulate ducts passing through unconditioned spaces to reduce heat gain/loss with proper R-value
Aim for duct leakage under 6% of fan flow; use pressure testing and sealing to achieve this
# Duct sealing and pressure test workflow overview: 1. Install duct sections and seal joints with mastic or foil tape. 2. Support ducts per spacing guidelines to prevent sagging. 3. Conduct duct blower test to measure leakage. 4. Seal leaks found during test and retest. 5. Confirm total leakage is ≤6% of system airflow. 6. Document results for commissioning package.
Refrigerant Lines, Condensate, and Venting
Line Set Routing and Brazing
Route line sets with minimal bends, supported regularly and protected from damage
Purge with nitrogen during brazing to avoid oxidation/scaling inside lines
Pressure test lines with nitrogen per manufacturer’s spec before evacuation
Fully insulate suction line and cover exposed lines to protect against UV damage
Condensate Drainage and Safety Switches
Install properly sloped primary drain (at least 1/8″ per foot) terminating to approved drain
Use traps as required to prevent air locking
For attic/above ceiling units, install auxiliary drain pans and float switches to prevent overflows
Test drains with water to verify proper flow
Ensure combustion venting complies with appliance category, manufacturer, and code. Check clearances and terminations.
Electrical and Controls Wiring
Line Voltage and Safety
Install rated outdoor disconnect within required proximity
Use conductors sized per nameplate minimum circuit ampacity and maximum overcurrent protection
Verify grounding and bonding meet electrical code
Confirm breaker sizing and wiring at indoor unit and heat strip circuits matches specifications
Use multimeter/non-contact voltage testers to confirm circuits are de-energized before work
Low-Voltage Thermostat Wiring and Labeling
Run low-voltage thermostat wiring from furnace/air handler to thermostat and outdoor unit (if needed)
Follow standard color coding where possible; always label conductors at both ends
Separate low-voltage wiring from line voltage conductors to reduce interference
Document any deviations and non-standard wiring clearly for future service
Thermostat and Smart Controls Setup
Placement Best Practices
Mount thermostat on an interior wall, avoiding direct sunlight, drafts, supply registers, doors, or heat sources
Install roughly 5 feet above floor for accurate temperature sensing
Avoid exterior walls, which may cause false readings
Configuration and Device Pairing
Wire thermostat following manufacturer specifications for system type (single, multi-stage, heat pump etc.)
Power up and configure system settings—stages, fuel type, fan operation, advanced options
For smart thermostats, connect to Wi-Fi, complete app setup, and verify remote control functions
Confirm thermostat correctly identifies equipment and responds to mode and temperature changes
Bold emphasis: Follow this field SOP checklist for consistent installs ensures every technician adheres to the same proven process, reducing errors and improving training efficiency.
Testing, Commissioning, and Quality Assurance
The installation is not complete until commissioning validates performance and documents compliance.
Airflow and Static Pressure Checks
Measure external static pressure across air handler/furnace with a manometer, compare to manufacturer limits
Check filter type and condition; replace if incorrect or dirty
Trace high static pressure to restrictive duct sections, undersized returns, dirty coils, or restrictive filters and correct issues
Measure supply and return CFM in critical rooms using balancing hoods or grids when available
Refrigerant Charge Verification
Pull deep vacuum and verify hold before opening refrigerant valves
Use manufacturer-specified charging method—superheat (fixed orifice), subcooling (TXV), or weigh-in with line-length correction
Compare measured values to charging charts and adjust accordingly
Correct refrigerant charge maximizes capacity and system efficiency
# Commissioning and balancing workflow overview: 1. Complete duct leakage and static pressure tests. 2. Verify airflow against design CFM per room. 3. Pull vacuum on refrigerant lines and check integrity. 4. Charge refrigerant to manufacturer specs using superheat/subcooling. 5. Perform temperature split checks across evaporator coil. 6. Run full heat/cool system cycles monitoring noise and operation. 7. Record all readings and document on commissioning sheet.
System Performance Checks
Measure temperature difference across coil and compare to typical target ranges for current conditions
Perform full heating and cooling cycles, verifying proper thermostat operation, smooth start-up/shutdown, and absence of unusual sounds or vibrations
Verify blower speeds for all modes (cooling, heating, continuous fan)
Safety Checks
For gas furnaces, conduct combustion analysis verifying CO, draft, excess air per manufacturer and code
Check gas connections for leaks with electronic detectors or bubble solution
Ensure all electrical connections are tight, secured, and labeled
Verify function of safety devices: high-limit, pressure, float, and condensate overflow switches
Duct leakage tests or airflow verification results
Photos of equipment, ductwork, venting, condensate drains, and electrical panels
Common mistake: Neglecting thorough documentation jeopardizes warranty claims and complicates future troubleshooting.
Checklist: Documentation requirements for warranty and quality
Document Type (文件类型)
Purpose (用途)
Timing (时机)
Signed Proposal & Change Orders
Contractual scope and changes
Project start and updates
Permits and Inspection Records
Legal compliance
Before and after work
Manufacturer Installation & Start-up Checklists
Verifies proper procedures
During and after install
Commissioning Sheets
Records performance data
At system startup
Photographs
Proof of correct installation
Throughout installation
AHRI Certificate or Equipment Match Documentation
Validates rated efficiency and warranty
At equipment verification
Special Considerations by System Type
Heat Pumps vs Straight Cool Systems
Verify reversing valve wiring, defrost board, and auxiliary heat circuits
Confirm defrost cycle settings and proper drainage of melt water
Educate customers on normal heat pump operational sounds and defrost behaviors to reduce “nuisance” calls
Gas Furnaces Installation
Adhere strictly to venting category (natural, induced, condensing), correct vent sizing, and materials
Provide adequate combustion air supply per code
Confirm gas line sizing, pressure, and regulator settings
Ensure condensate lines on high-efficiency furnaces are properly drained and freeze-protected
Ductless Mini-Splits Setup
Mount indoor heads on solid, level walls with secure anchoring
Route line sets and condensate lines through wall with sealed sleeves preventing air/water intrusion
Use high-quality flaring and torque lines per manufacturer specs
Pressure-test lines and adjust refrigerant charge if line lengths or elevation differences exceed limits
Rooftop Units Installation and Safety
Plan crane/lift service with clear safety zones and rigging plans
Verify roof curb dimensions, levelness, and proper sealing against water intrusion
Seal and insulate duct transitions at curb interface
Observe strict fall protection and roof safety protocols
Post-Installation: Customer Handoff, Maintenance, and Upsell
Customer Walkthrough and Thermostat Demo
Review system components and their locations with the customer
Demonstrate thermostat operation, including modes, setpoints, and schedules
Explain filter replacement schedule and basic troubleshooting steps
Set expectations for normal sounds or behaviors, especially on heat pumps or variable-speed systems
Maintenance Agreements and IAQ Add-ons
Offer maintenance agreements covering tune-ups, filter changes, and priority service
Discuss indoor air quality (IAQ) enhancements — filtration, humidification, ERV/HRV ventilation — tied to specific customer concerns like allergies or humidity
Emphasize benefits: extended equipment life, reduced breakdowns, and improved comfort
Uploading Photos and Documentation
Upload commissioning forms, photos, and signed documentation to CRM or field management software
Tag equipment by serial number and location for easy future reference
Help new technicians quickly learn expected procedures
Provide senior techs and supervisors a tool to verify steps are completed
Reduce variation between crews, leading to more consistent, reliable installs
Checklist: How to implement checklists effectively in the field
Best Practice (最佳实践)
Description (描述)
Integrate into workflow
Include in job packets and digital apps
Require on-site completion
Avoid back-office or after-the-fact use
Use during training & ride-alongs
Reinforce correct procedures with crews
Regularly review completed checklists
Identify recurring issues and retrain
Provide feedback based on checklist data
Improve processes and quality control
Final Thoughts and Next Steps
Reinforcing the Importance of Checklists and QA
An HVAC installation guide for contractors is only as effective as the team’s commitment to using it. Standard checklists and quality assurance processes transform individual skill into a scalable system producing efficient, reliable installations with fewer callbacks and stronger customer satisfaction.
Calls to Action: Resources, Training, and Software Tools
Next steps for contractors include:
Adopting or customizing a comprehensive HVAC installation checklist aligned with typical jobs
Training crews on SOPs, documentation requirements, and commissioning procedures
Leveraging field management software to capture data, photos, and signatures during installs, creating a robust service history for warranty and quality tracking
Consistent application turns installation quality into a dependable profit center and competitive differentiator.
Frequently Asked Questions (FAQ)
What are the main steps in commercial HVAC installation?
Key steps include pre-installation site evaluation, load and duct calculations, equipment selection and verification, removal of old systems, new equipment placement, ductwork installation, refrigerant and electrical connections, controls setup, commissioning, and customer handoff.
How to ensure HVAC ductwork meets ventilation efficiency standards?
Proper duct sizing using Manual D, sealing with mastic or UL-rated tape, insulating ducts in unconditioned spaces, and performing duct pressure testing to keep leakage below 6% ensure ventilation efficiency.
What permits are required for commercial HVAC installation?
Typical permits include mechanical permits for equipment, electrical permits for new circuits or disconnects, gas permits for piping modifications, and potentially duct leakage or ventilation verification permits depending on jurisdiction.
How to test and balance airflow in HVAC systems after installation?
Use manometers to measure external static pressure, balance supply and return airflow with hoods or flow grids, verify filter and coil condition, and correct restrictive duct sections to meet manufacturer airflow specs.
What safety checks are essential post HVAC installation?
Confirm electrical connections, breaker sizing, gas leaks, combustion efficiency (for gas systems), operation of safety switches, and ensure all wiring and controls meet code and manufacturer requirements.
How can contractors streamline load calculations for HVAC installations?
They use software with preloaded data, standardize inputs for common constructions, train preliminary design staff, and build template duct layouts to accelerate Manual J and D processes without skipping essential steps.
What are best practices for refrigerant line set installation?
Route with minimal bends, support regularly, use nitrogen purge while brazing to avoid oxidation, pressure test with nitrogen post-brazing, and fully insulate suction lines with UV-resistant covers outdoors.
How do HVAC contractors protect customer property during installation?
A: Employ floor coverings, drop cloths, shoe covers, protect furniture and surfaces with masks or covers, plan equipment and debris paths to avoid damage, and designate debris staging areas away from fragile items.