Need Specifications or a Quote?
Share your ventilation project requirements and our engineers will reply within 12 hours with technical specs, pricing, and lead time.
In the intricate world of HVAC systems, the trunk duct plays a pivotal role in ensuring efficient air distribution throughout a building. Selecting the correct materials, achieving precise sizing, and implementing best practices during installation are not just technical checkboxes—they’re the backbone of superior system performance and energy efficiency. But while these critical factors are often emphasized, there’s an untapped opportunity to improve speed and efficiency during the installation process, saving time without compromising quality.
If you’ve ever wondered how to streamline your trunk duct installation or ensure that your trunk line duct delivers balanced airflow, this article provides the comprehensive blueprint you need. From choosing the right materials like galvanized steel to mastering techniques with tools like snap-lock and button lock connections, you’ll learn how to achieve a seamless installation process. With a focus on precision and compliance with industry standards, we’ll also explore sizing strategies, efficient bracing methods, and advanced tools that can optimize your workflow.
The installation of HVAC trunk ducts is a critical component in ensuring efficient air distribution and overall performance of HVAC systems. While material specifications and system design are important topics often discussed, there is a notable lack of focus on techniques that prioritize speed and efficiency during installation. Below, we explore key takeaways that address not only the technical aspects of trunk duct sizing and materials but also actionable best practices to save time and optimize results for HVAC professionals.
The HVAC trunk duct is the primary distribution route for conditioned air, typically running above corridors, along basements, or in mechanical spaces before feeding smaller branches. Fast, high-quality installations depend on understanding the physical and performance characteristics of this duct so you can size it correctly, select the right material, and connect it efficiently.
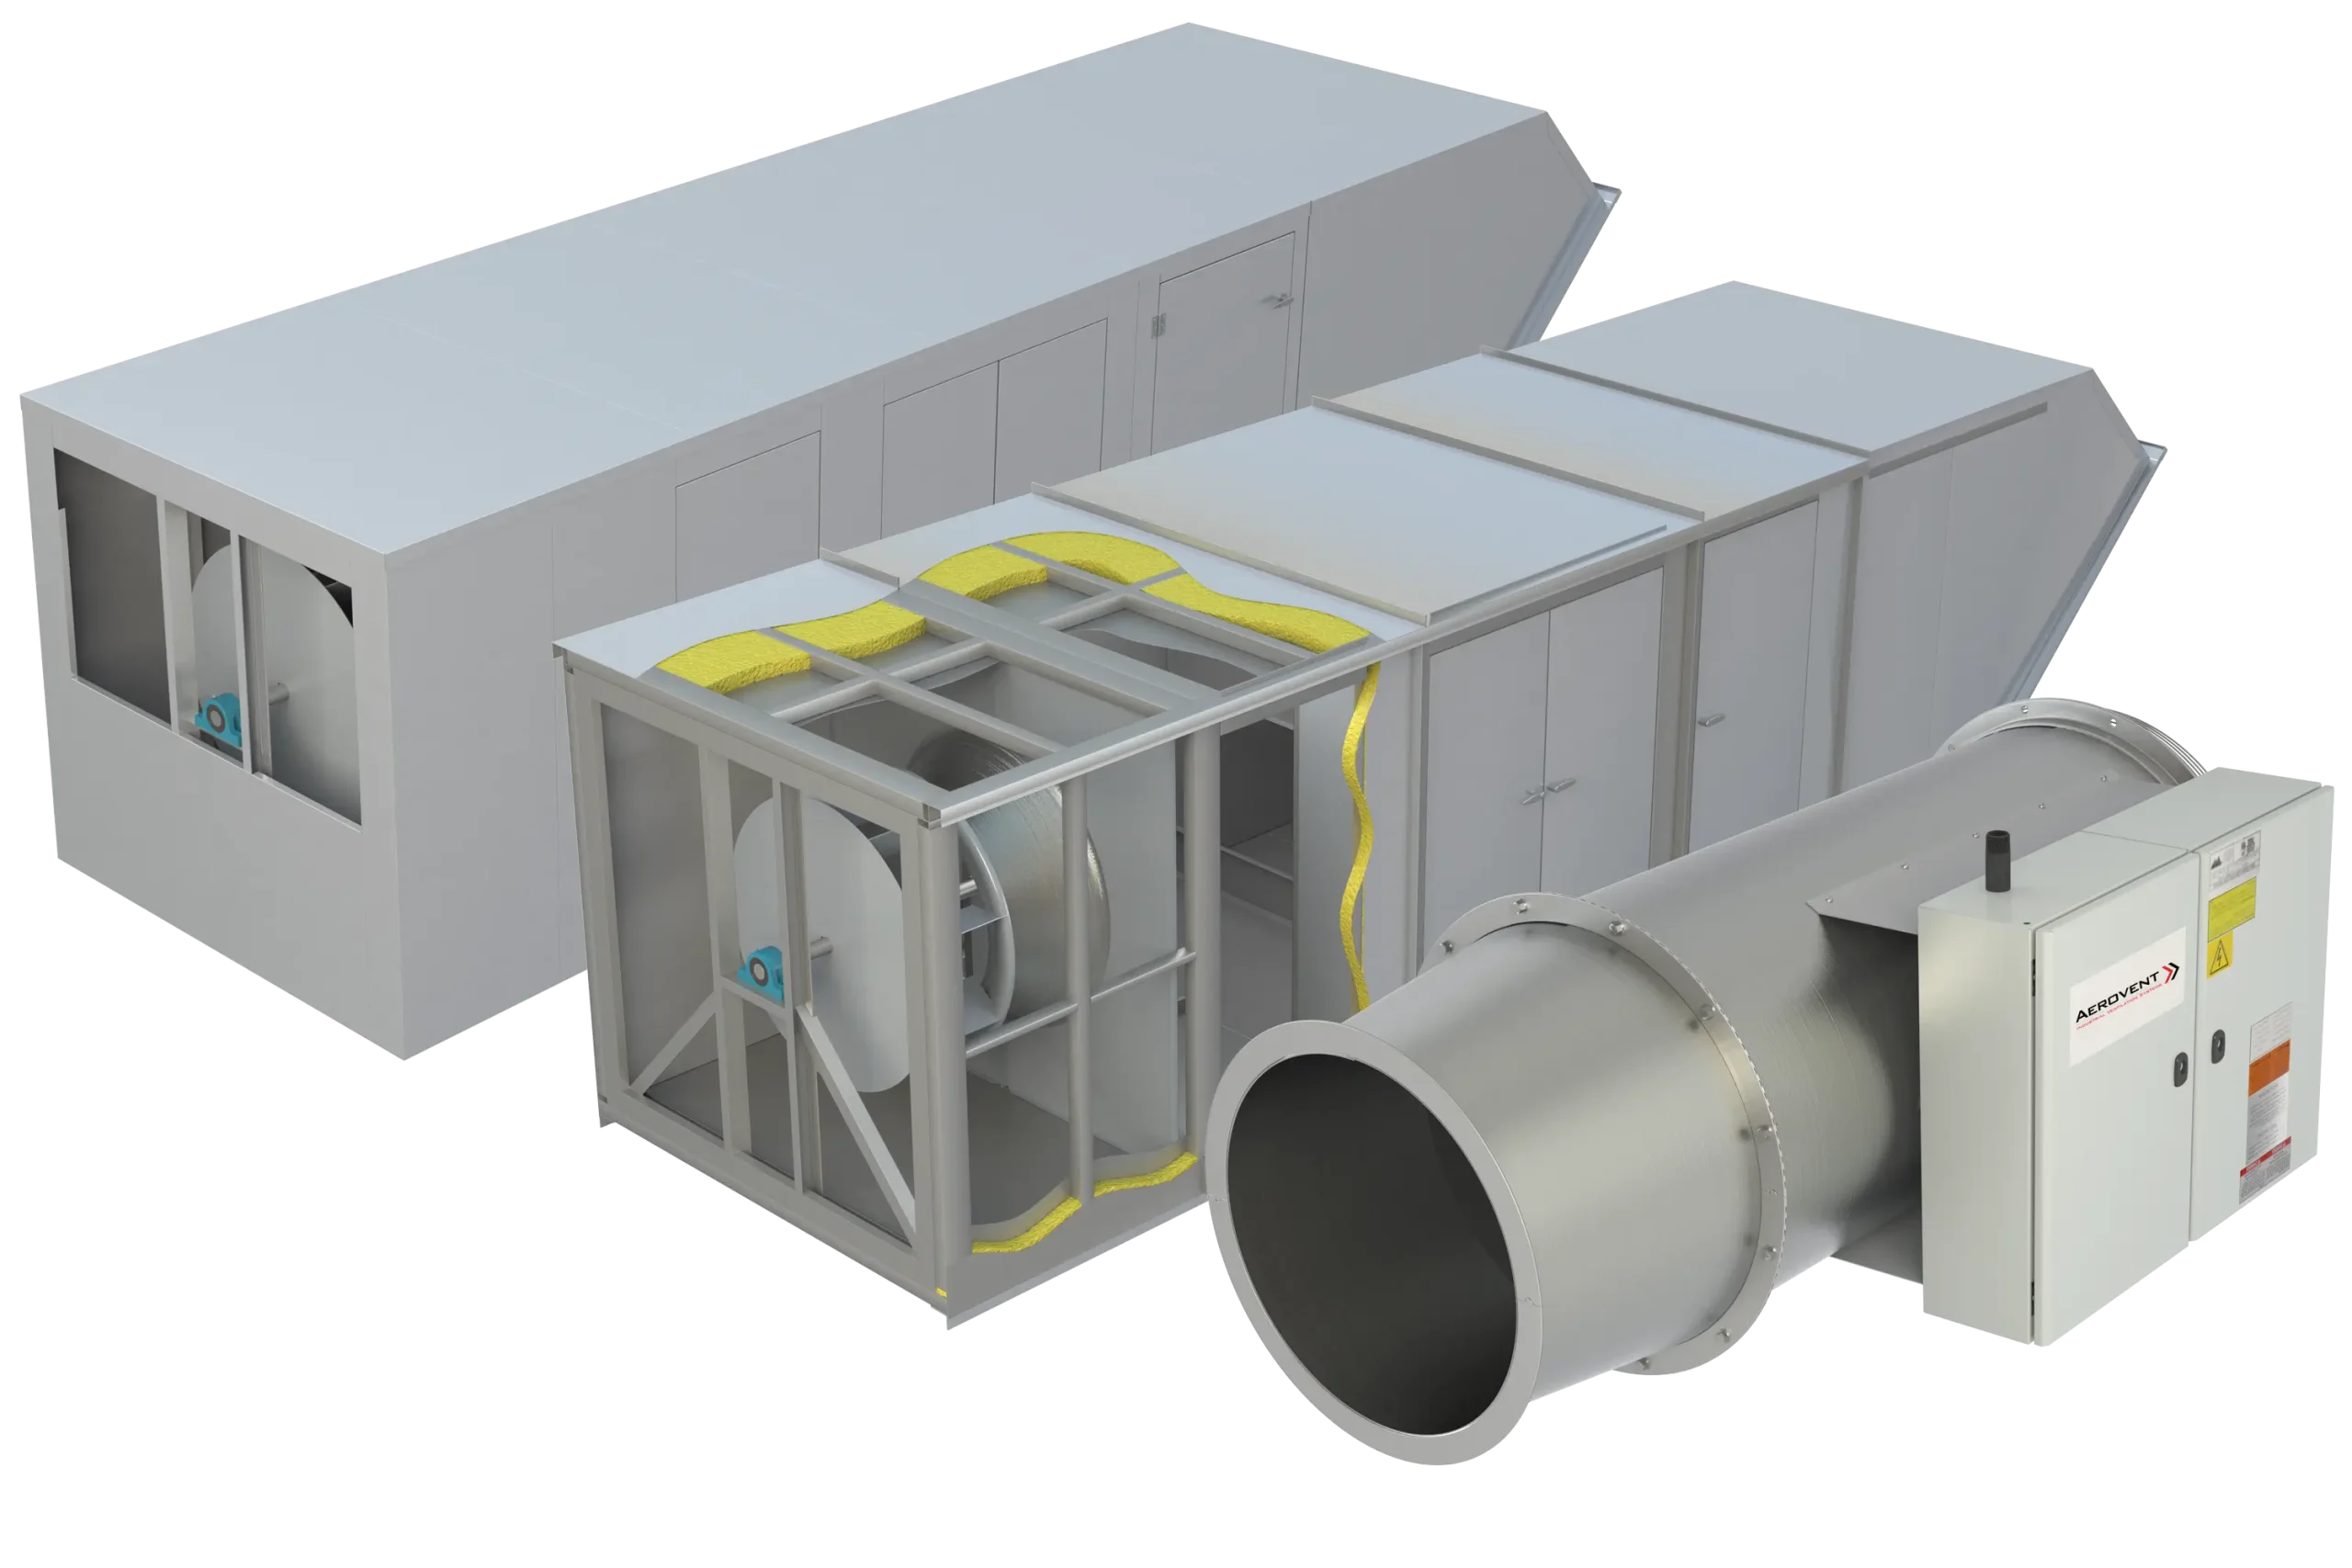
In most commercial and residential light-commercial projects, the trunk duct is fabricated from galvanized steel duct, chosen for its strength, fire resistance, and compatibility with standard trunk duct fittings. Many contractors rely on pre-fabricated components such as the rectangular duct and fittings or spiral duct and fittings for predictable performance and repeatable installation workflows.
To install a trunk line duct quickly without sacrificing performance, it helps to standardize on a small set of materials, gauges, and joinery methods. This minimizes on-site decisions, reduces rework, and simplifies training for new technicians.
The main options for a modern HVAC trunk duct include rectangular, spiral round, and flat oval configurations. Each offers different advantages for airflow, space efficiency, and speed of install.
| Trunk Duct Type | Common Material | Key Advantages | Best Use Cases |
|---|---|---|---|
| Rectangular duct | Galvanized steel, 24–18 gauge | Easy tap layout, fits tight ceiling cavities, simple transitions | Commercial buildings, mixed-use, retrofits with limited height |
| Spiral round duct | Galvanized steel, 26–18 gauge | Lower leakage, strong in longer runs, quick coupling systems | Open ceilings, long straight runs, exposed architectural designs |
| Flat oval duct | Galvanized steel, formed from round | Round-like airflow with reduced height, aesthetic appearance | Low-clearance corridors, design-focused interiors |
For rectangular systems, products such as the rectangular duct and fittings line enable installers to quickly assemble trunks with standard elbows, transitions, and takeoffs that match common sizes. When space is tight but round duct performance is desired, flat oval duct and fittings offer a practical compromise.
In noise-sensitive or high-efficiency applications, double-wall products such as the double wall rectangular duct can provide built-in acoustic and thermal performance while keeping the outer dimensions compatible with typical ceiling systems.
Choosing the right configuration sets the stage for proper trunk duct sizing for optimal airflow, which directly influences fan selection, noise levels, and energy use.
Among metals used in ducts, galvanized steel remains the dominant choice for trunks because it balances performance with ease of fabrication and installation speed. Professional installers often coordinate closely with a sheet metal shop that follows a controlled sheet metal duct fabrication process to ensure consistent gauge, seam quality, and dimensions.
Key properties affecting fast, high-quality trunk duct installation include:
Gauge and rigidity: For trunks with higher static pressure, heavier gauges (20–18) reduce oil-canning and vibration. For smaller residential trunks, 26–24 gauge often provides sufficient rigidity while remaining easy to handle and cut on-site.
Corrosion resistance: Galvanized coatings protect the steel from rust when exposed to condensation or humid environments. Correct coating thickness improves lifespan and reduces callbacks for duct replacement. Projects that require retrofits can benefit from guidance found in resources like the HVAC ductwork replacement guide.
Formability and joinery compatibility: Ducts must reliably accept snap-lock connections, Pittsburgh seams, and S-cleat joints. Material that is too brittle or inconsistent in thickness slows down field work and increases air leakage.
Fire resistance and code compliance: The trunk line duct frequently crosses fire/smoke separations, requiring dampers and fire-rated assemblies. Galvanized steel easily meets mechanical code requirements, reducing permit friction and inspection delays.
Material choices directly influence how quickly you can hang, seal, and connect the trunk duct, which in turn affects labor hours and overall project margin. Once the base materials are determined, the next major factor for performance and speed is trunk duct sizing.
Incorrect trunk duct sizing for optimal airflow is one of the fastest ways to create noise problems, comfort complaints, and excessive static pressure. For efficient field work, sizing needs to be precise enough to meet design airflow while simple enough to allow installers to lay out runs and taps without constant recalculation.
Most designers use Manual D (residential) or engineering methods such as equal friction or static regain (commercial). For installers, understanding the logic of these methods allows you to quickly verify whether a proposed HVAC trunk duct looks realistic and to make minor adjustments on-site without compromising the system.
Proper trunk line duct design balances several variables:
Design airflow (CFM): Total cubic feet per minute the duct must deliver to all branches. For example, a small retail space may require 3,000 CFM through the main trunk.
Air velocity (fpm): Feet per minute of air speed in the duct. Typical design velocities for main trunks often range from 900–1,600 fpm depending on application and noise constraints.
Friction rate (in. w.g./100 ft): The pressure loss per 100 feet of duct, which must align with the available static pressure from the fan. Design teams often work in the 0.05–0.12 in. w.g./100 ft range.
Duct aspect ratio: The ratio of height to width for rectangular ducts. Keeping this under 4:1 usually improves performance and reduces sheet metal waste.
To translate these concepts into a field-usable approach, many professionals rely on calculators or charts similar to those discussed in the how to size air ducts: CFM, velocity, pressure drop guide. This makes it easier to confirm that a proposed trunk size will keep velocity within an acceptable range while staying under the fan’s static pressure limit.
To streamline field decisions, you can standardize a repeatable trunk duct sizing workflow:
Confirm total system CFM: Sum the design CFM for all supply diffusers or registers served by the HVAC trunk duct. For example, a 10-ton RTU might deliver approximately 4,000 CFM.
Select a design velocity: Choose a velocity based on building type. Offices and residential projects often target 900–1,200 fpm for main trunks to limit noise. Industrial zones may accept 1,500 fpm or more.
Compute starting duct area: Use the relationship Area (sq ft) = CFM / Velocity. For 4,000 CFM at 1,200 fpm, the area is 3.33 sq ft. From this, choose a rectangular size such as 24″ × 20″ (3.33 sq ft) using products like the rectangular duct and fittings line.
Step down after each major branch: As each branch takes CFM off the main, recalculate the remaining CFM and match it with a new duct size that keeps velocity within your chosen range. This maintains balanced airflow along the trunk.
Check friction and static: Once sizes are set, verify that friction loss across the total equivalent length matches the available pressure. Tools similar to those described in the HVAC duct comprehensive guide are useful at this stage.
Standardizing this process lets project managers quickly answer, “Is this trunk size reasonable?” during coordination meetings and allows technicians to make minor on-site changes without derailing the design.
In a 45,000 sq ft office retrofit, a contractor was tasked with upgrading an aging constant-volume system using existing chases. The engineering design called for a main trunk delivering 8,500 CFM with limited ceiling height. By adopting standardized trunk sizes based on a 1,000–1,200 fpm target and validating them with methods similar to those in the air duct sizing guide, the installation crew achieved the following:
Reduced field layout time by 30%, since technicians could quickly select the next trunk size after each major branch without repeated phone calls to engineering.
Kept measured static pressure within 0.08 in. w.g. of the design goal, reducing fan energy by approximately 18% compared with the old system.
Eliminated post-occupancy noise complaints that had plagued the previous installation
Once sizing is locked in, the next significant opportunity for savings lies in how quickly and reliably you can connect individual trunk sections.
Connection methods determine not only leakage and longevity but also the labor hours required to assemble the HVAC trunk duct. Adopting standardized, fast-assembly techniques like snap-lock connections and S-cleat joints is one of the highest-leverage ways to accelerate projects without compromising quality.
For rectangular ducts, the industry has converged on a handful of proven connection strategies that balance speed and performance. Two of the most widely used are S-cleat joints and companion drive cleats, which can be factory-applied or cut on-site.
A typical rectangular trunk section manufactured through a controlled sheet metal duct fabrication process will arrive on-site with slips and notches designed to accept S-cleats and drive cleats rapidly. Installers slide S-cleats onto the long sides of the joint and hammer drive cleats onto the short sides, producing a tight, relatively leak-resistant connection without bolting flanges.
Round and spiral ducts often rely on grooved or swaged ends with snap-lock connections or slip couplings. These are especially efficient for long straight runs, such as those formed with spiral duct and fittings, because sections simply slide, twist, and lock into place with minimal fastening.
To reduce installation time while maintaining integrity, many contractors adopt several standardized practices:
Pre-staging cleats and sealants: Before lifting ducts into place, crews slide S-cleats onto one end of the section and apply mastic or gasket material to the mating surfaces. This allows joints to be closed quickly once the duct is set in hangers.
Factory-applied connectors: Ordering components such as the rectangular duct and fittings line with pre-installed flanges or standard connector profiles reduces on-site cutting and alignment.
Consistent joint spacing: Keeping trunk sections to uniform lengths—commonly 5 or 10 feet—simplifies hanger layout, reduces measurement errors, and speeds assembly since crews get used to repetitive spacing.
Pre-drilled pilot holes: For spiral duct or heavier-gauge trunks, pre-drilling screw locations on the ground shortens the time spent overhead and improves safety.
Once joints are assembled, sealing becomes the critical step to prevent leakage and ensure design airflow reaches downstream branches and diffusers.
Air leakage from the trunk line duct directly impacts fan energy, comfort, and system commissioning time. A well-sealed trunk can often deliver 5–15% energy savings compared with a leaky installation, especially in long distribution systems.
Common sealing techniques include:
Water-based mastic: Applied with a brush at seams, corners, and cleat edges, mastic is extremely effective for rectangular duct trunks. It adheres well to galvanized steel and remains flexible over time.
Foil-backed tape: When UL-181–listed tape is properly applied (clean, dry surface, adequate pressure), it can be very effective for round and spiral joints, especially when combined with factory-formed snap-lock connections.
Gasketed flanges: For larger or high-pressure trunks, bolt-together flanges with continuous gaskets provide robust connections that resist leakage even under thermal cycling.
Speed comes from standardization: define which sealing method to use for each pressure class and duct type, and train crews to execute that method the same way every time. With joints and seals standardized, you can focus on faster, safer hanging and bracing of the trunk duct.
When professionals ask, “How to install HVAC trunk duct quickly while maintaining quality?” the answer usually combines careful pre-planning with standardized field practices. The trunk duct is often the first large component in the air distribution system; problems here cascade to all downstream branches.
Time savings start long before technicians arrive on-site. Coordinating with a fabrication shop such as those that follow the sheet metal duct fabrication process enables you to use pre-measured trunk sections and fittings that match your design exactly. This reduces field cutting and fitting, which are major sources of delay and error.
Effective pre-planning includes:
Segmenting the trunk: Break the main trunk into installable modules, typically between 5 and 10 feet in length, with transition and branch points clearly marked on shop drawings.
Pre-labeling sections and fittings: Each piece of your trunk duct fittings should be tagged with its location, orientation, and sequence number. Crews then install in order without guessing which part goes next.
Coordinating with other trades: Early identification of conflicts with plumbing, electrical, and structural members prevents re-routing and rework that can destroy schedule savings. Good coordination uses similar principles to those discussed in the HVAC duct comprehensive guide, but focused specifically on the trunk routing.
By entering the site with a plan and clearly labeled components, crews can focus on execution instead of problem-solving in the field, which is slower and more error-prone.
Proper hanger spacing and bracing are essential to maintain alignment and prevent sagging or vibration in the HVAC trunk duct. Poor support leads to long-term issues such as noise, joint failure, and changes in duct slope that trap condensate.
Typical best practices include:
Standard hanger intervals: Many contractors use 8–10 foot spacing for rectangular ducts and slightly shorter spacing for larger or heavier sections. The exact intervals should follow local code and SMACNA guidelines.
Alignment with joints: Whenever possible, place hangers near joints so the weight of each header section is borne by supports, not solely by cleats and connections.
Vibration control: Use isolation hangers or neoprene bushings near air handling units or axial fans to reduce transmission of vibration into the trunk.
Load calculations for large trunks: For heavy double-wall or large spiral trunks, verify that threaded rods and trapeze supports are sized correctly. Double-wall products like the double wall rectangular duct can be significantly heavier than single-wall sections.
Well-laid-out hangers make the physical installation faster because sections naturally align along a straight path, reducing on-the-fly adjustment and re-leveling.
An often-asked question is, “How do you ensure proper air distribution in trunk line systems?” The answer lies in branch locations, takeoff types, and balancing strategies. Even a perfectly sized trunk can perform poorly if branch taps are placed haphazardly.
Best practices include:
Staggering branch takeoffs: Avoid placing opposing branches directly across from each other, which can cause turbulence and noise. Stagger them along the length of the trunk to smooth flow.
Using tapered takeoffs: Tapered or conical takeoffs reduce pressure loss and help maintain more uniform velocity profiles in the trunk.
Incorporating balancing dampers: Install volume dampers at branch connections to allow commissioning teams to fine-tune flows. This improves comfort and reduces the need for oversizing the trunk to compensate for imbalances.
Maintaining straight duct before and after fittings: Aim for at least one to two duct diameters of straight length before and after important fittings or transitions. This minimizes system effect on fans and reduces noise at diffusers.
By combining proper branch layout with accurate trunk duct sizing, you can create stable, predictable airflow patterns that make balancing faster and more reliable. After physical installation, attention turns to verification and fine-tuning.
Beyond design and fabrication, significant schedule gains come from rethinking how crews execute the work. A well-trained team using standardized tools and methods can often reduce time spent on trunk duct installation by 20–30% compared with ad hoc approaches.
Creating a standard toolkit for trunk installations prevents time loss due to missing tools or inconsistent methods. Common elements include:
Dedicated trunk installation carts: Stock carts with S-cleats, drive cleats, mastic, foil tape, screws, drill bits, tape measures, snips, and PPE. Carts follow the crew along the trunk route, minimizing trips to storage areas.
Pre-cut hanging hardware: Cut threaded rods and angle iron to standard lengths during pre-fab or early in the project. This allows hangers to be installed in a rhythm without constant measuring.
Color-coded labeling: Use color-coded tags on duct pieces to identify sequence or zone—e.g., blue tags for main trunk, green for branch distribution, red for fire damper sections.
Well-organized tools and materials reduce idle time and create a smoother workflow when installing long trunk runs across multiple zones.
Another effective way to accelerate trunk duct installation is to segment tasks among the crew instead of having each technician perform all activities. For example:
Lead installer: Responsible for aligning ducts, supervising joint assembly quality, and resolving conflicts with other trades.
Support installers: Handle hangers, lifting, and initial cleat placement.
Finisher: Applies sealant, secures screws, and attaches insulation or acoustic wrap as required.
This assembly-line approach turns each task into a repeatable motion, which typically results in fewer errors and faster completion than having every installer switch roles frequently.
On a 30,000 sq ft retail fit-out, a contractor standardized the trunk installation sequence using pre-fabricated spiral sections from a line similar to the spiral duct and fittings collection. They implemented dedicated trunk carts, pre-cut hangers, and defined crew roles. Comparing the project with a prior, similar-fit-out job, they documented:
A 22% reduction in field labor hours for the main trunk installation.
A 40% reduction in installation-related punch list items, primarily due to consistent joint sealing and hanger spacing.
Substantial reduction in material waste, as pre-fabricated lengths minimized offcuts and rework.
With the trunk installed accurately and quickly, long-term performance depends on thoughtful maintenance and verification practices.
Once an HVAC trunk duct is in place, the remaining opportunities for efficiency gains lie in proper commissioning, verification of airflow, and ongoing maintenance. A well-designed and installed trunk will maintain performance for decades if leaks are minimized and access is planned from the start.
A structured checklist at the end of trunk installation not only ensures system performance but also reduces callbacks, which can erode any time savings achieved earlier in the project.
Key items in a trunk duct QA checklist include:
Joint inspection: Visually verify that all S-cleats, drive cleats, or snap-lock connections are fully seated and mechanically secure. Check for missing screws or failed seams.
Sealing inspection: Confirm that sealant covers all seams and fittings, with no visible gaps. Any tape should be firmly adhered with no lifting edges.
Hanger verification: Check spacing, alignment, and load-sharing across hangers and trapeze supports. Ensure no excessively long unsupported spans exist.
Branch alignment: Confirm that branches are installed at the angles and positions specified on the drawings, with dampers accessible for balancing.
Leakage testing (as specified): For high-performance or critical systems, conduct duct leakage testing on the trunk and compare results to design tolerances.
Creating a standardized QA process helps ensure that every trunk line duct meets the same performance standard, independent of which crew performed the work.
After physical installation, the next step is verifying that the trunk delivers design airflow to each zone and branch. This process often includes:
Measuring trunk velocities: Using a pitot tube or anemometer, technicians measure air velocity at representative cross-sections of the trunk. These readings, combined with knowledge of duct area, allow calculation of CFM and confirmation of design capacity.
Adjusting branch dampers: Technicians then adjust branch volume dampers to achieve the required CFM at each diffuser, maximizing the benefit of accurate trunk duct sizing.
Verifying fan performance: Comparing fan curves with measured static pressure and CFM ensures that both the air handler and the trunk system operate at the intended point.
Efficient airflow verification shortens commissioning time and confirms that the trunk duct is not a bottleneck in the overall HVAC system. Good verification practices align closely with the design concepts explained in the air duct sizing and pressure drop guide.
While trunk ducts are generally low-maintenance, some planning can significantly extend their useful life and keep performance stable:
Access doors and panels: Strategically installed access points along the trunk, especially upstream and downstream of key fittings, make inspection and cleaning easier.
Periodic inspection cycles: In commercial facilities, a 3–5 year inspection interval for main trunks can identify corrosion, insulation damage, or joint failures early.
Consideration of upgrades and retrofits: When major HVAC upgrades are planned, resources such as the HVAC ductwork replacement guide can help determine whether an existing trunk can be reused, upsized, or replaced with more efficient options like flat oval duct and fittings or custom metal fabrication.
Thoughtful maintenance planning closes the loop on fast, high-quality trunk duct installation, creating systems that are not only quick to build but also reliable and efficient over their full operating life. For teams seeking to further refine their approach to trunk ducts and broader duct systems, exploring the resources and products available at BromingHvac and its specialized air ducts equipment collection can provide additional tools for continued improvement.“`markdown
Efficiently installing an HVAC trunk duct involves a strategic balance of proper materials, accurate sizing, standardized workflows, and robust post-installation practices. This comprehensive guide detailed the key elements necessary to streamline trunk duct installation without compromising performance, showcasing the critical role trunk ducts play in ensuring optimal airflow, energy efficiency, and system reliability in modern HVAC systems.
The successful execution of an HVAC trunk duct system begins with selecting the right materials and configurations. Materials like galvanized steel remain the industry standard due to their durability, rigidity, and fire resistance, while options such as rectangular duct and fittings, spiral duct and fittings, and flat oval duct and fittings ensure flexibility across a range of installations, from commercial buildings to architectural designs. Proper material properties such as gauge, corrosion resistance, and joinery compatibility directly influence both the quality and speed of the installation process.
Trunk duct sizing is crucial, as it directly determines the airflow capacity, system efficiency, and noise levels. Standardized workflows that incorporate tools like CFM and pressure drop charts, along with clear guidelines for stepping down duct sizes, can save significant time and ensure optimal airflow. The integration of efficient connection techniques such as snap-lock and S-cleat joints, as well as pre-fabricated components from resources like the sheet metal duct fabrication process, further enhances speed and precision.
Preventing leaks and enhancing airflow quality through meticulous sealing practices—using mastic, foil-backed tape, or gasketed flanges—also ensures system durability and energy efficiency. Likewise, strategic pre-planning with pre-labeled fittings and pre-staging materials, as well as task segmentation among the crew, promotes an organized and efficient execution process that minimizes errors and optimizes resources.
Installation is just the beginning; maintaining performance throughout the life of the system requires solid post-installation processes, including quality assurance, airflow verification, and long-term maintenance. Employing standardized quality assurance checklists, measuring and balancing airflow, and ensuring precise trunk sizing are integral to reducing callbacks and maintaining a reliable system. Easily accessible resources like the air duct sizing and pressure drop guide can support contractors in verifying design and installation integrity. Long-term maintenance strategies, such as scheduled inspections and the inclusion of access points, are equally essential to prevent inefficiencies and ensure prolonged operational success.
Ultimately, the key to successful and efficient HVAC trunk duct installation lies in adopting a systematic and methodical approach. From the careful selection of materials to creating repeatable workflows and fostering collaboration among trades, every step matters. Leveraging high-quality products like those available at BromingHVAC—including air ducts and fabricated components—can greatly support this planning and execution process.
Investing time and effort into best practices during installation and post-completion ensures systems not only perform as intended but also deliver long-term value through minimal maintenance requirements and energy optimization. As a contractor, designer, or technician, consider refining your strategies using tools and techniques, from precise trunk duct sizing models to high-performance sealing methods. With the right planning, materials, and execution, you can achieve standout results in air distribution that consistently exceed expectations.


