Need Specifications or a Quote?
Share your ventilation project requirements and our engineers will reply within 12 hours with technical specs, pricing, and lead time.
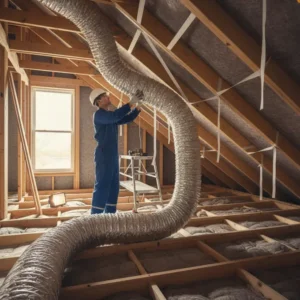
Flexible air ducts work well for modern HVAC systems because they are easy to install and fit into tight spaces. But this same ease of installation leads to problems when done incorrectly. Your system’s performance suffers.
The numbers tell the story clearly. When you compress a flexible air duct by just 15%, friction doubles. At 30% compression, friction quadruples. Your HVAC system works 40% harder while delivering 50% less airflow. For homeowners and HVAC professionals, getting the installation right makes the difference between an efficient system and mounting energy bills.
When installed correctly, flexible air duct offers real benefits. Installation is simpler, you need fewer connections, operation is quieter than rigid systems, and it fits into irregular spaces in attics and crawlspaces. Without proper tensioning, support placement, and following industry standards, these advantages disappear.
This guide walks you through proper installation techniques aligned with ADC/ACCA standards, critical best practices that prevent costly failures, and maintenance strategies that extend your system’s lifespan. Whether you are a DIYer tackling your first flex duct project or an HVAC professional refining your installation approach, these fundamentals ensure your air duct system operates efficiently for years.
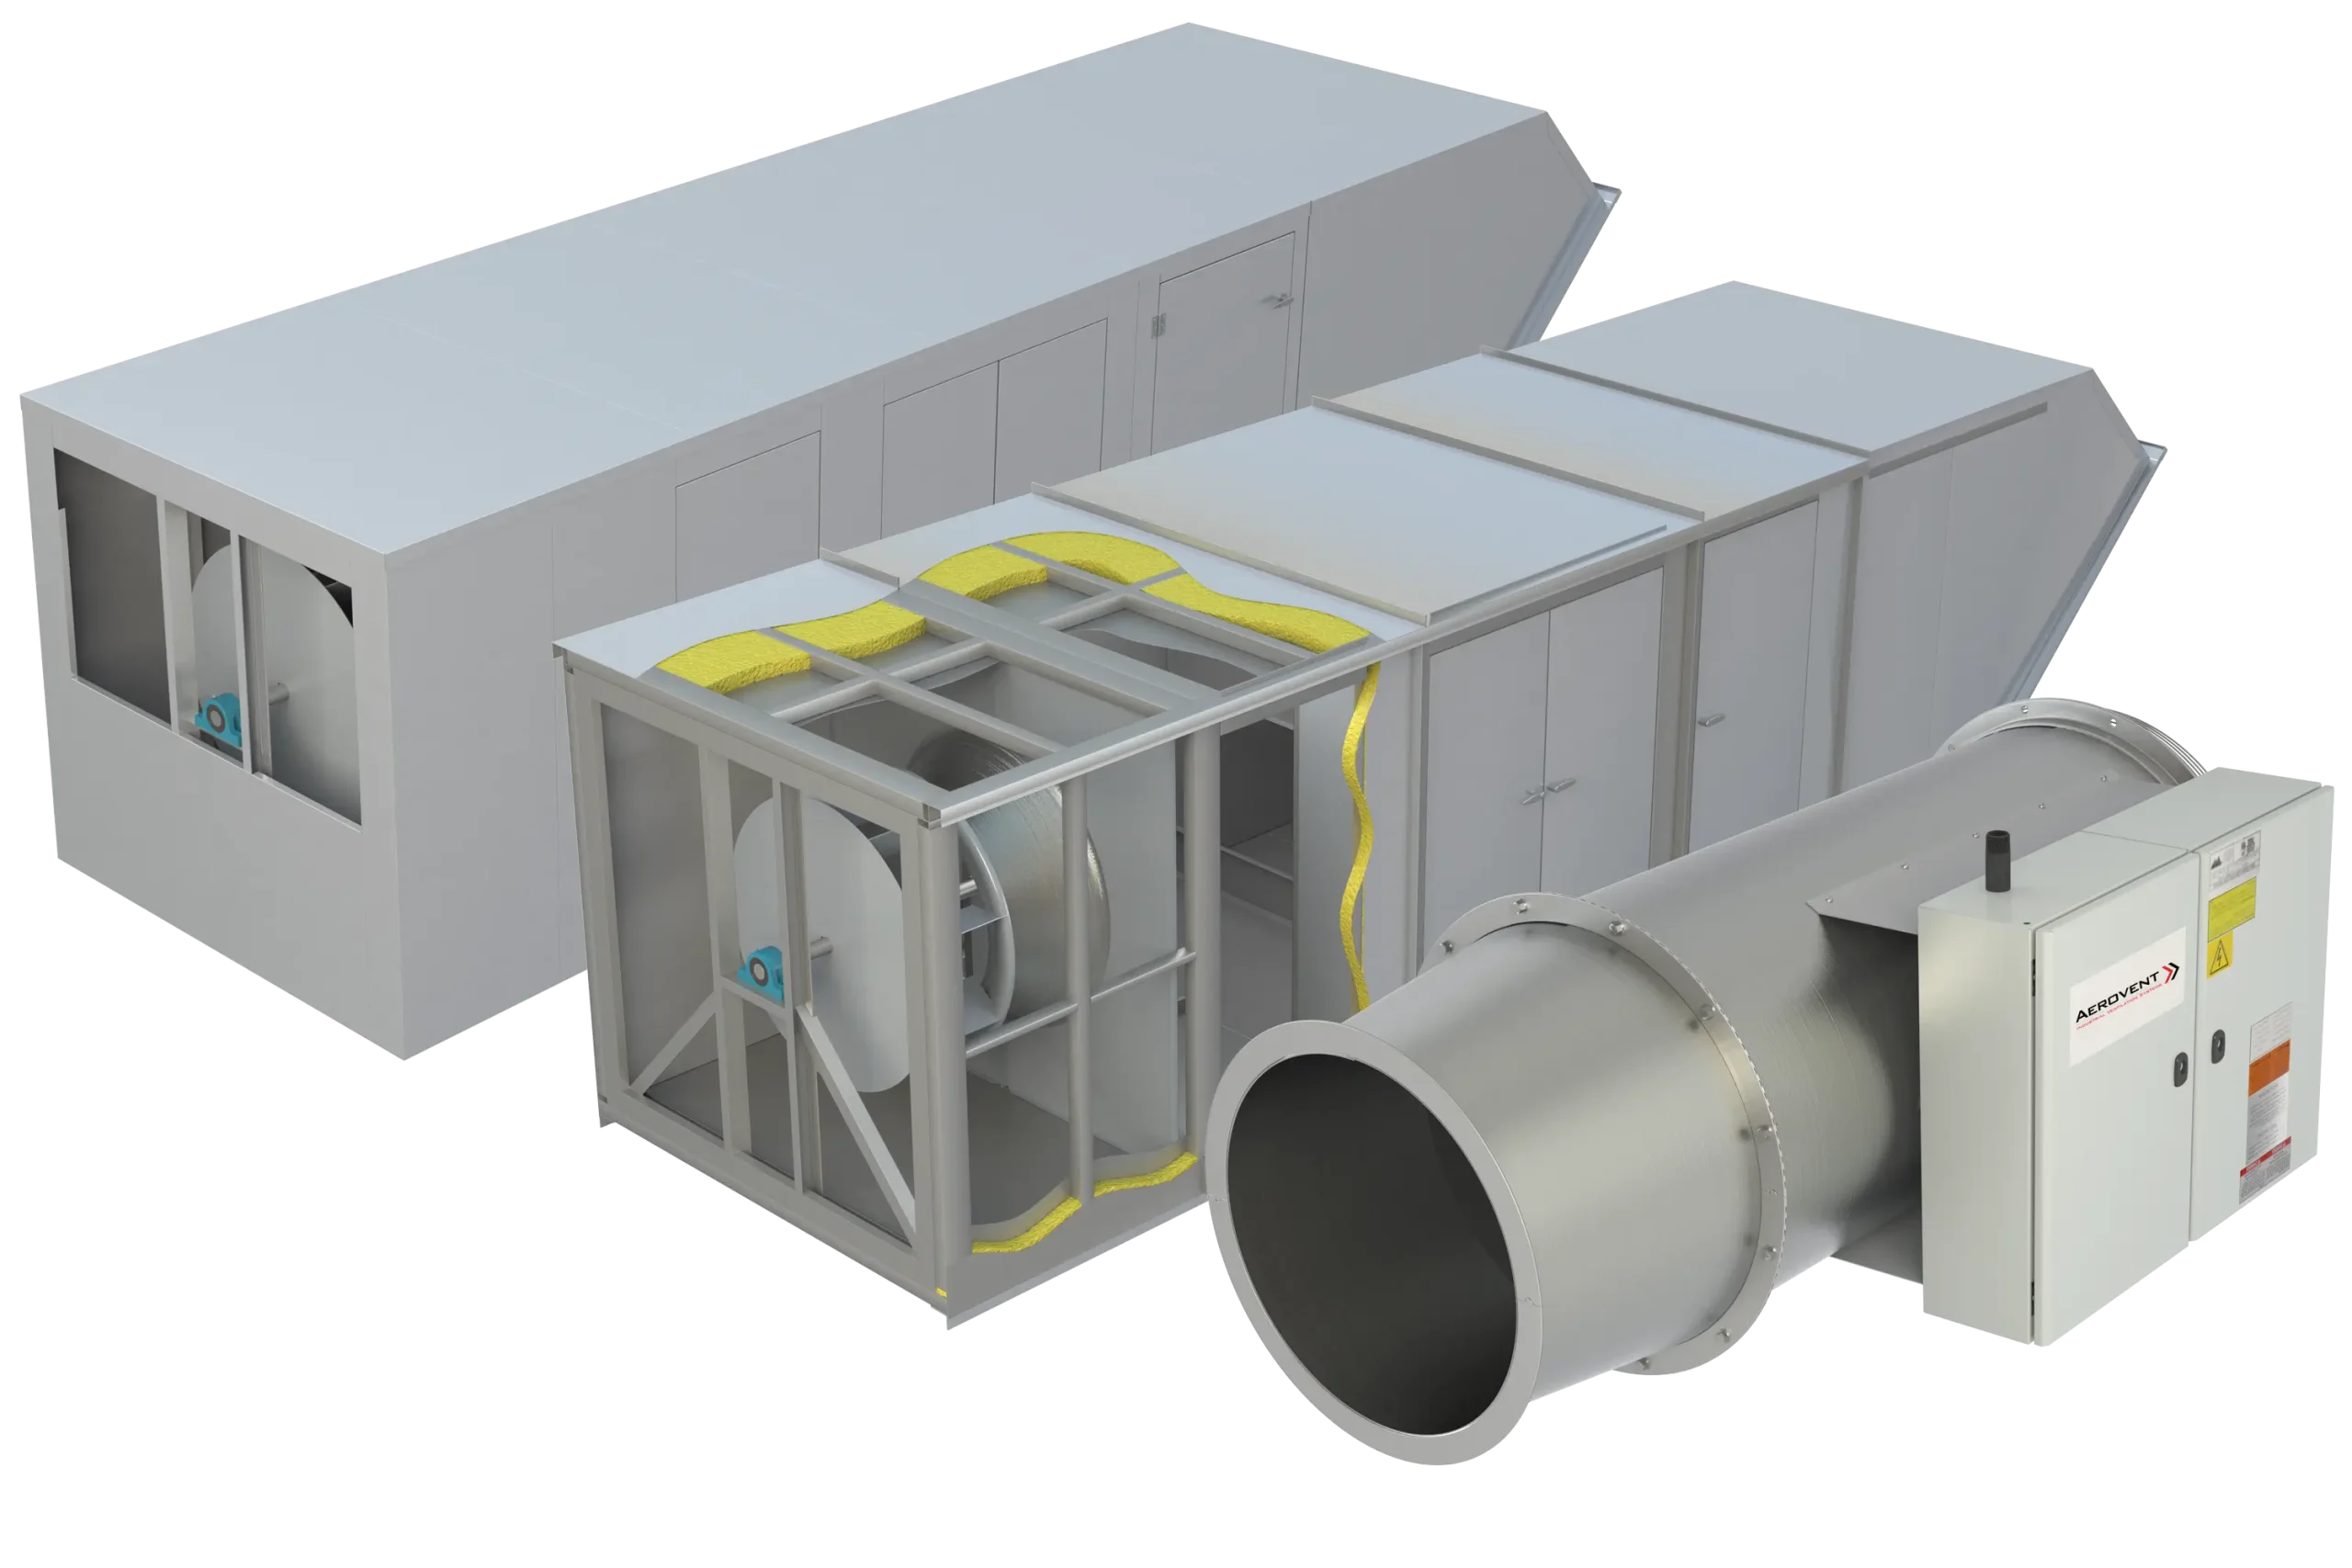
Flexible air duct consists of a single continuous tube made of a wire helix core wrapped in insulation and a protective outer vapor barrier. This design eliminates many connection points where air leaks in traditional systems.
The main advantage of flexible HVAC duct is that it adapts to available space. Where rigid ductwork requires complex routing or custom fabrication in challenging spaces, flexible air duct conforms naturally. This adaptability makes flex duct the industry standard for attic runs, crawlspace applications, and retrofit scenarios.
This flexibility introduces unique challenges. The same pliable nature that makes flexible air duct valuable also means it damages easily through improper handling, inadequate support, or excessive compression. Understanding these differences helps you recognize why installation precision matters with flex duct.
Friction loss represents the primary performance threat in poorly installed flexible air duct. When air travels through any duct, it encounters resistance from the duct walls. In properly installed flexible air duct, this friction remains predictable. But compression changes everything.
The Air Conditioning Contractors of America (ACCA) reports that friction rates increase sharply with compression. At 15% compression, friction doubles. Your HVAC system works twice as hard to push air through. At 30% compression, a common problem in tight installations, friction quadruples. Your system operates at four times normal resistance.
The result is significant. A compressed flexible air duct section forces your entire HVAC system to work harder. The blower motor runs harder and consumes more energy while delivering less conditioned air to rooms. This efficiency loss compounds across the system, resulting in energy consumption increases of 30-40% compared to properly installed installations. Beyond energy waste, this overwork reduces equipment lifespan and increases maintenance costs.
The main advantage of flexible air duct is that it delivers both installation simplicity and operational efficiency when installed to industry standards. Unlike rigid ductwork that demands precise measurements and custom fabrication, flexible air duct accommodates routing changes during installation with minimal effort or cost.
This adaptability saves money on installation. Complex routing through multiple floors or around obstacles becomes straightforward with flexible air duct. A single continuous run replaces what might need five to ten connection points in a rigid system. Each connection represents a potential leak point.
When installed to ADC/ACCA standards with proper support spacing every 4 feet and maximum sag of 1/2 inch per foot, flexible air duct maintains airflow integrity similar to rigid alternatives. The key is understanding that flexibility means intelligent routing paired with precise support methodology that preserves the duct’s internal dimensions and airflow.
Flexible ducts operate significantly quieter than full rigid systems, an advantage particularly valuable in residential applications. The insulation in most flexible air duct products provides natural vibration damping that rigid ductwork cannot match.
Rigid duct systems transmit vibration directly from the blower motor through metal connections to walls and structures, creating audible rattling and humming. Flexible air duct absorbs these vibrations within its fabric and insulation layers, resulting in quiet operation that many homeowners notice immediately. This noise reduction becomes important in bedroom areas and commercial spaces where sound levels impact satisfaction.
Flexible air duct excels where rigid ductwork is impractical. Attics with low-slope roofs, crawlspaces with obstacles, remodeled areas with limited clearance, and retrofit applications all benefit from flexible duct.
This adaptability eliminates expensive workarounds. Instead of rerouting through walls or accepting reduced HVAC coverage in certain zones, flexible air duct navigates the existing space efficiently. The ability to run around corners and through tight passages without requiring custom fabrication makes it practical for modern construction and renovation.
Successful flexible air duct installation begins with detailed planning. Begin by mapping your HVAC system’s complete ductwork layout. Identify the main trunk lines from the furnace or air handler to each branch that serves different zones or rooms.
Create a detailed routing plan that identifies the most direct path for each run while accounting for physical obstacles, support opportunities, and environmental factors. Mark the location of every supply outlet, return-air inlet, and connection point. This planning phase catches potential issues before installation begins.
Key planning considerations include:
A critical detail often overlooked: pull out the entire length of your flexible air duct before installation begins. This allows the duct to acclimate to the installation environment and prevents kinked sections that compromise airflow.
The moment installation begins, tensioning becomes critical. Flexible air duct must be pulled taut during installation. Not so tight that you create stress on connections, but firm enough that the duct maintains its internal dimensions without sag or compression.
Proper tensioning technique:
The goal is tautness without tension damage. Properly tensioned flexible air duct has gentle curves that guide airflow smoothly rather than abrupt angles that create turbulence and pressure loss.
Proper support represents the most critical factor determining long-term performance. Inadequate or incorrect support allows ducts to sag, compress, and accumulate debris over time.
Industry standard support requirements:
The 4-foot support interval represents the maximum distance flexible air duct spans without beginning to sag under its own weight. Exceeding this spacing causes gradual sagging. As sag increases, duct internal diameter decreases, friction increases, and condensation pools in sagging sections.
Strategic placement techniques:
Strap placement directly determines whether your flexible air duct system maintains performance or gradually degrades.
Connections between flexible air duct and the HVAC unit, plenums, or branch ducts represent critical transition points where air escapes if not sealed properly.
Proper connection technique:
The 2-inch minimum collar depth isn’t negotiable. It ensures sufficient contact area for the mastic sealant to create an airtight connection. Shortcuts here create leak points that reduce conditioned air reaching occupied spaces.
HVAC systems typically employ varying duct diameters as they branch from main trunk lines to individual zones or rooms. Transitioning between different diameters requires specific techniques to prevent turbulence and pressure loss.
Transition best practices:
These transitions represent points of heightened friction and potential energy loss. Handling them with precision ensures your flexible air duct system maintains pressure consistency from the furnace through the final outlet.
The Air Duct Cleaners Association (ADC) and Air Conditioning Contractors of America (ACCA) have established comprehensive standards that define proper flexible air duct installation methodology. These standards represent the collective experience of HVAC professionals and reflect the engineering principles that determine system performance.
Key ADC/ACCA provisions for flexible air duct:
These standards emerged from decades of HVAC installation experience and testing. Installations that adhere to ADC/ACCA requirements consistently deliver the performance and longevity that justify the installation investment.
The choice between insulated and non-insulated flexible air duct affects system performance in specific environmental conditions. Understanding when each option is appropriate prevents unnecessary cost while ensuring optimal performance.
Insulated flexible air duct (typically R-4 to R-8):
Non-insulated flexible air duct:
The decision becomes straightforward when you recognize that insulation serves one primary purpose: preventing condensation. If your installation won’t create temperature differentials that promote condensation, non-insulated duct saves cost. If your installation routes through unconditioned spaces, insulated flex duct becomes essential.
Environmental factors influence how your flexible air duct system performs and its longevity. Installations in humid climates, flood-prone areas, or extreme temperature zones demand specific adaptations.
Humid climate considerations:
Flood-prone area routing:
Extreme temperature zones:
These environmental considerations determine whether your installation delivers reliable performance or encounters recurring problems.
Sagging represents the most visible installation failure. Many installations accept some degree of sag as inevitable. In reality, proper support eliminates sagging entirely.
Sagging occurs when support spacing exceeds code limits or when straps loosen over time. Once sagging begins, it compounds. The duct’s weight creates additional sag, which increases friction and reduces airflow efficiency.
Prevention techniques:
Correction for existing sag:
If you discover sagging in an existing installation, adding support straps addresses the problem. Determine how many additional straps are needed to bring spacing within the 4-foot limit. Install new straps to bring the duct level and maintain proper position. Expect to spend 1-2 hours per linear 20 feet of sagging duct to correct the issue properly.


